The Pi Desktop is a new “desktop case” for the Raspberry Pi from element14, which was initially purchased with the intent of replacing the very dwindling stocks of the PiSSD! machine. Whilst it looks to be very similar in concept, it’s not quite in the same class, but then again, it’s not in the same price range.
The case is made of rigid plastic, with a single button on the top, and a round “light” surrounding the element14 logo in the centre. It looks very stylish, and whilst rigid, feels much cheaper and flimsier that the alloy PiSSD.
Installing the Pi into the case isn’t difficult, but there isn’t much room for error, without having to disassemble everything for the bit that got forgotten – such as a suitable micro SD card.

Pi-Desktop with Raspberry Pi in situ.
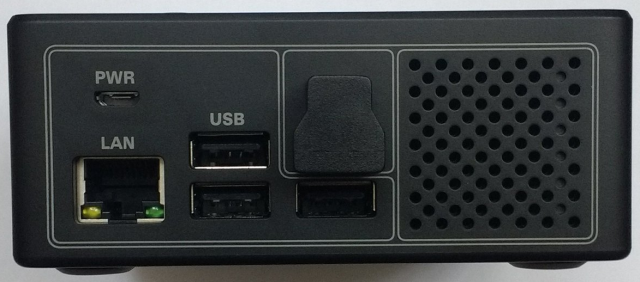
This leads to a bizarre design choice to push the Pi to one side so that the HDMI and audio are exposed to the side of the case. It may have made more sense to orient the GPIO ports to the side of the case, so that a suitable adaptor could have been used to route the HDMI and audio ports to the same plane as the existing USB. This would have been a much tidier option than it currently offers as the HDMI sticks out to the side and ruins the “squareness” of the case. If something else was being placed into the space to the side of the GPIOs, it would have made more sense, but it’s just empty.
A simple HAT (hardware attached on top, in Raspberry Pi parlance) attached to the GPIO pins and sits on top of spacer screws that also secure the Pi to the base. The HAT has a single mSATA slot on the top, and a holder for the CR2302 battery (supplied) to the underside, for the Real Time Clock. Unfortunately, the RTC doesn’t function with RISC OS, so the battery is surplus to RISC OS requirements. At one end, there are two micro USB ports – one to connect to the top right USB port on the Pi itself, and one for power in for the whole system. This allows the HAT to power and control the Pi via a built in on-off switch. Once the HAT is in place, four screws secure it to the standoffs holding the Pi to the base. Again, make sure you’ve installed the battery and mSATA (using the two supplied screws) before securing it, to avoid a bit of unnecessary disassembly. You’ll note that the HAT has a simple push button switch and blue LED along the case’s centre line (to the side of the mSATA drive). This lines up with the push button on the case lid and the light channel for the round illuminator.
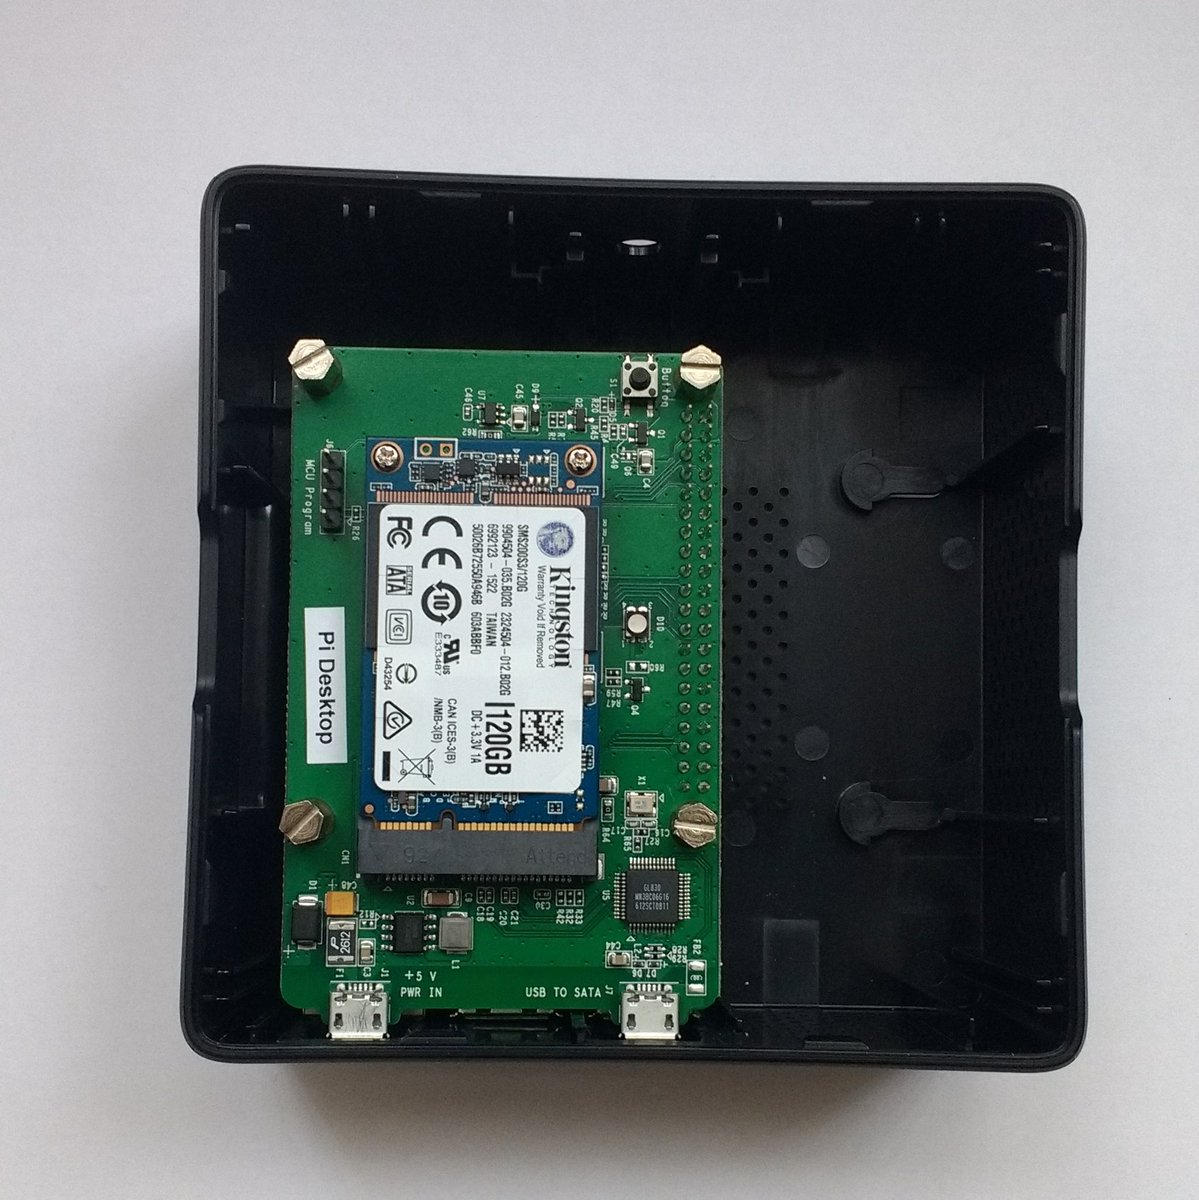
Raspberry Pi and HAT in place and secured.
That’s the main assembly done. It’s now a case of using the supplied USB to micro USB connector to connect the HAT over USB to the Pi. It’s assumed that the Pi takes power from the GPIO connector on the HAT rather than the USB, but this hasn’t been checked. A heatsink for the main processor is also supplied, but it may not be necessary for RISC OS on a Pi2, as used – it certainly wasn’t fitted, and nothing seems to get particularly warm, even under load.
USB connector plugged in
The lid of the case is a tricky proposition. It simply clicks into place. No hardship there, not until it needs taking back off. Whilst it has what look like “thumb holes” just below the lid at the sides, it’s still hard work to remove!
In Use
The Pi Desktop was a bit of a struggle to turn on initially. The button wasn’t quite lined up with the one on the case, and so didn’t connect. Hence the discovery of the lid being difficult to remove!
However, once that was sorted, everything was back to normal. Turn it on, boot from the inserted micro SD card and wait for the desktop. Just works. The mSATA (already pre-formatted and populated from a different Pi-based device) was sitting nicely on the icon bar as a hard drive. A few simple configuration commands:
*configure filesystem SCSI
*configure SCSIFSDrive 4
and a reboot, and it’s booting from the mSATA (obviously the firmware still runs from the micro SD card – in this case a very slow 2GB one from an old phone).
It seems quite nippy in use, and benchmarks using RISCOSMark 4 are pretty much the same as any Pi running RISC OS in the same way, apart from the drive benchmarks:
SCSIFS 1.28 (06 Oct 2013)
BCM2835 processor &2 type &0 revision &6
Filing system: SCSI - CSD not set
Graphics Resoloution: 1920x1080, 16M colours

Test Benchmark
Processor - Looped instructions (cache)      1207941      679%
Memory - Multiple register transfer            14155     8737%
Rectangle Copy - Graphics acceleration test     1191      492%
Icon Plotting - 16 colour sprite with mask     22327     1116%
Draw Path - Stroke narrow line                  6911      443%
Draw Fill - Plot filled shape                   1423       97%
HD Read - Block load 8MB file                  23405      784%
HD Write - Block save 8MB file                 23405      769%
FS Read - Byte stream file in                     59       28%
FS Write - Byte stream file out                   59       30%
These don’t quite represent what the machine “feels” like though. It feels considerably faster than a RiscPC, a bit faster than an Iyonix, but sluggish compared to an ARMx6 or Titanium. But it isn’t anywhere near as expensive. When you’ve factored in all the components, such as the case at £48inc VAT, a Pi at £35, and an mSATA drive at around £50 for a 128GB branded version these days, it’s still a lot cheaper than a premium machine.
If you want a neat-ish desktop case for RISC OS, then this is a small, cheap alternative, spoiled a bit by the plastic nature of the case and the HDMI poking out of the side. There are neater, if not cheaper options. But it does offer the option of more robust and higher capacity storage on the Pi than just a micro SD card.
