QupZilla, as ported to RISC OS by Chris Gransden, is a nice browser for RISC OS, but it lacks a few of the basics that RISC OS users have come to expect: an iconbar icon; some indicator of it doing something during the long pause when loading; and a little bit more speed! Even as is, it still feels faster than Otter.
Being frustrated by many of these shortfalls, it wasn’t impossible, even for me, to cludge something together that manages all this. It wasn’t neat, tidy, or clever, but it was functional. This “application sandwich” was primarily due to a distinct lack of coding skills. And it might have been a good start for someone to take a hold of it, modify it and make it so much better!
So that’s pretty much what I did. In discussions online with another RISC OS user who had infinitely better coding skills than me, we thought that he could make some streamlined changes to the multi-layered way I’d originally achieved what I’d wanted for myself – but also a useful RISC OS browser for configuring Wispy V.
One of the things I’d done was to embed !Qupzilla deep in my application sandwich. This was then copied to a RAMDisc on the machine (the amount of memory available these days means RAMDiscs are easy to utilise) along with the supporting files that are needed.
After a bit of experimentation, I realised that the browser itself didn’t need to be run from the RAM Disc to achieve a noticeable speed increase, as long as the Unix support files were located there.
My colleague, Rob, suggested that one streamlining possibility was to leave !Qupzilla outside of our !ZillaRAM app – as long as it had been seen by the filer, it would load fairly quickly anyway.
What I had struggled to do with my complicated version was do some of the automation:
- Checking for a RAM Disc
- Creating one if necessary
- Resizing it, if needed and possible
Using my application sandwich, if a RAMDisc was previously set up (even from Configure on Boot), I had just about managed to:
- Copy the necessary files to it
- “See them” there
- Run !QupZilla, using the support files in the RAMDisc
- Killing QupZilla on closing, thank’s to Steve Fryatt’s TaskKill
and, to my mind (though not “scientifically” proven), there was a worthwhile difference in loading speed. However, the pause while it loaded often looked like the computer had crashed because it was a good few seconds of nothing happening. I’d used !Liquidise from Liquid Silicon to create a banner before running the necessary files so I knew that something was happening. But often the window failed to materialise (what I didn’t realise at the time was that this was due to not being in a 16m colour mode. QupZilla and Otter-Browser will ONLY work in 16m colour modes.
Rob said he thought he could code to check for a RAMDisc and, if not present, set one up or resize it if necessary from an app. So combining these things should create a usable, automated app – but I still wanted an iconbar icon! I had used AddTinyDir to create one for my application sandwich, but obviously it was on the wrong side of the iconbar. Using DrWimp, Rob found this a breeze.
There was also the issue of colour swapping – on some machines, red and blue are swapped to be in line with “industry standards” rather than “RISC OS standards” and in vanilla QupZilla, this requires a change to the !Run file. Rob used some platform-detection software to allow ZillaRAM to detect the board that it is running on, and sets the colour swap accordingly. All automatically, but with an option to force a specific swap-state.
With all this in place, the app worked nicely. The only problem, early on, was that it seemed that some aspects of the SharedLibs were available from PackMan and some from a site linked on the ROOL forum, which felt incredibly messy.
Better use of PackMan tidies this up considerably, but initially it was complicated. That said, that may have been more of a misunderstanding of the instructions on my part.
However, with a clearer understanding of PackMan’s mechanisms for installing packages, it all works quite well.
So, there it is. A more RISC OS QupZilla, albeit via a separate app. There are still some not quite RISC OS” things, like the menu bar at the top. But it’s faster, has a “re-clickable” iconbar icon, let’s you know when something is happening via a banner, and even sets the colours correctly. And, for me, it can configure Wispy V!
Setting up ZillaRAM
Download !ZillaRAM and unzip it to a directory of your choice.
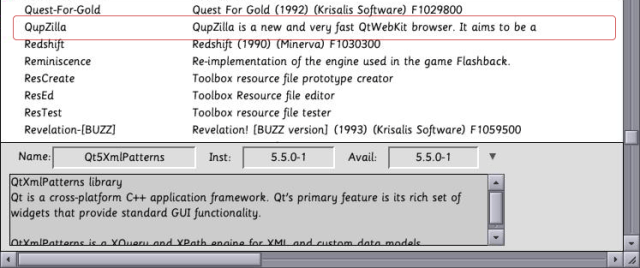
Open PackMan (usually found in Apps on RISC OS 5 machines) and update it.

Find QupZilla from the list and Mark to Install
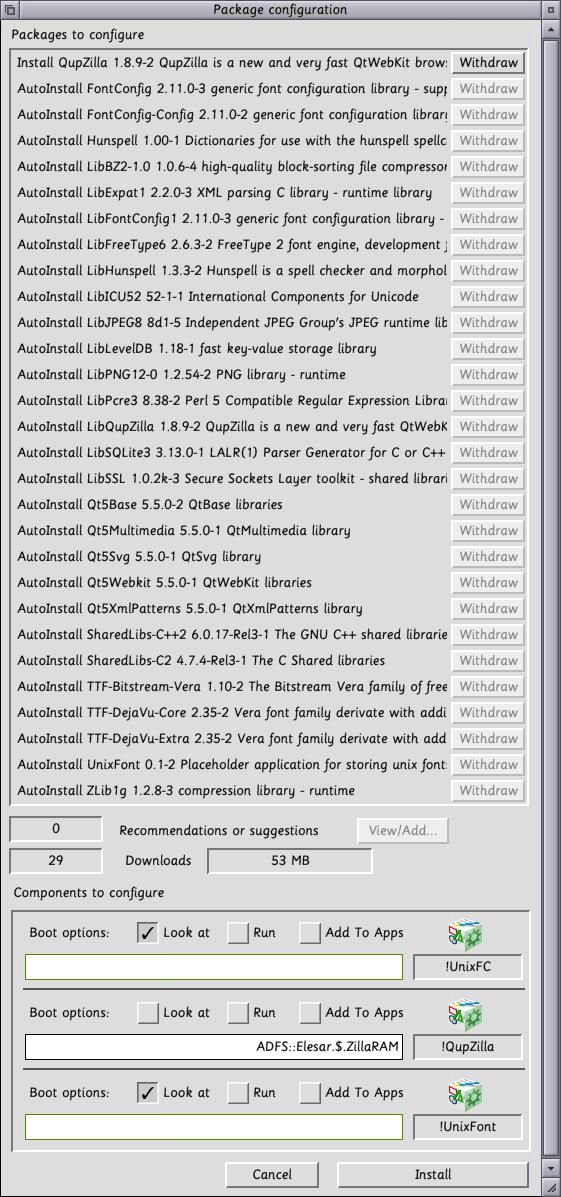
When the Package Configuration Window pops up, drag the !QupZilla to the same directory as !ZillaRAM – you’ll notice it does nothing at this poit, other than sets the place where !QupZilla will be installed:
Shift Double click on !ZillaRAM in your chosen directory and navigate the internals of the app until you get to !ZillaRAM.Resouces.UnixSppt, which should only have !UnixHome inside.
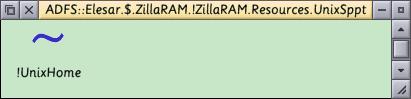
Drag !UnixFC and !UnixFont from the PackMan window into this directory to set the paths, and click Install. If you don’t already have !SharedLibs installed, you should install in in !Boot:Resources although many applications make use of this.
PackMan will then download and install the components into the appropriate places. After a fair amount of time “Running post install triggers” Packman will inform you that it is Done. If this has all gone to plan, you should now be able to run !ZillaRAM for the first time. An iconbar, similar to QupZilla’s, will appear on the right hand side of the iconbar.
Clicking Select on this will pop up a QupZilla banner and after a brief pause, a QupZilla window will open up.
Clicking Menu (the middle button) will open up a menu.

Info and Quit do pretty much as expected, but clicking on Options will open a window to make different choices about how ZillaRAM behaves:

Enable RAM Disc Support allows ZillaRAM to load the Unix Support files to the RAM Disc for a little bit of extra speed when running QupZilla
Create RAM Disc allows ZillaRAM to create a RAMDisc if one isn’t present, at a size of your choosing. The default of 50MB is usually more than sufficient.
Swap Red and Blue is useful for machines that use LTRGB modes, so mainly Titanium, IGEPv5, and some Pi modes utilise this. Leave it set to Auto, and ZillaRAM will determine the best setup for your machine.
If the settings are wrong for your machine, things will look very brown! You can force the selection by using either of the Yes or No options.
Click okay to accept the options, and, if necessary, quit ZillaRAM and reload to activate the new settings.
Caveat: one thing ZillaRAM cannot do is resize a RAMDisc which is not empty. This is a RISC OS “feature” which ZillaRAM cannot work around, so you may occasionally get errors if the RAMDisc already exists and has files in it. Especially the first time you run ZillaRAM, this may catch you.
